Find All The Info On
Epoxy Flooring
Epoxy Flooring Overview
- Epoxy Flooring Home
- Epoxy Flooring Pictures
Popular Patterns:
Using metallic pigments, decorative flakes, dual-color schemes, and other popular patterns.
Color Options:
Coloring choices for epoxy flooring.
- Epoxy Flooring Design Ideas
Epoxy Flooring Applications
- Garage Floor Epoxy
- Commercial Epoxy Flooring
- Industrial Epoxy Flooring
- Basement Epoxy Flooring
- Residential Epoxy Flooring
Price and Performance
- Epoxy Flooring Costs
- Benefits of Epoxy Flooring
- Installation Process
- Epoxy Flooring Maintenance
Comparing Epoxy Flooring:
The pros and cons of installing epoxy floors.
Related Information
- Epoxy Floor Coatings
- Epoxy Products
- 3D Epoxy Graphics
- Design Ideas
- Epoxy Flooring Info
Website Sponsors And
Working Partners
If you’re looking for a new concrete floor coating, you’ll find custom epoxy design ideas here.


HOW IS CONCRETE STAINED?
THE CONCRETE STAINING PROCESS IS SOMEWHAT DIFFICULT BUT RATHER AFFORDABLE. BELOW, WE’LL COVER IT STEP BY STEP.
STAINED CONCRETE
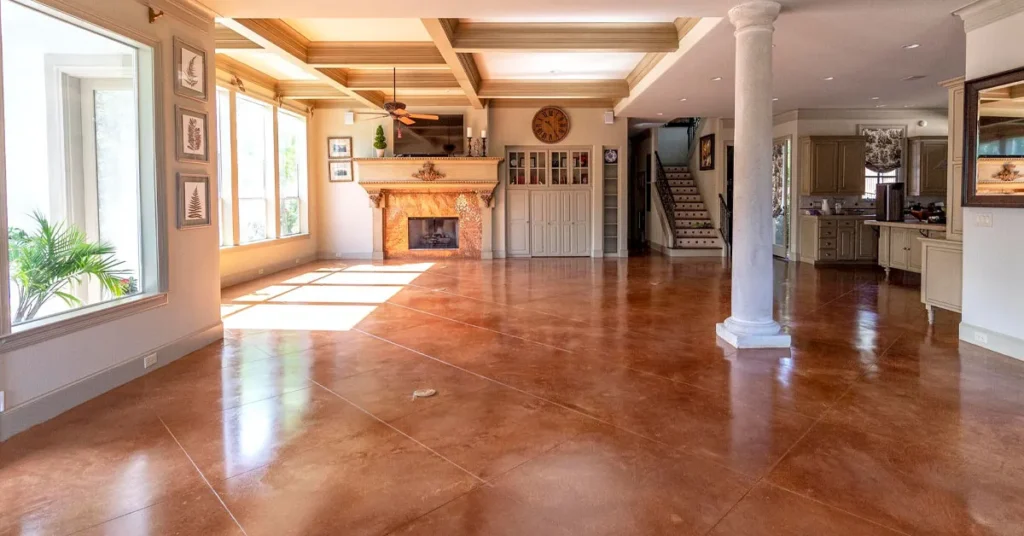
Staining concrete is a wonderful way to add some color to plain, gray concrete. The process for staining concrete can take roughly 2 days to complete. If you’re having new concrete stained, it needs to be fully cured before the process can begin. Freshly poured concrete takes around 21 to 28 days to completely cure. Staining concrete takes a bit of work to complete, but there are only a few steps involved. Those steps are as follows: clean and prep the concrete’s surface, apply the concrete stain, clean up and neutralize the stain, and seal the concrete to protect it long-term. The process of applying a stain needs to be meticulously followed as well because once the stain is applied, it’s permanent.
CHOOSING A STAIN
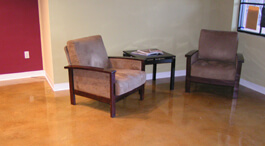
The first step of the staining process is choosing what type of stain you want to use. There are two types of stains that are made for concrete surfaces. Acid-based stains and water-based stains. These two concrete stains have some key differences between them. The stain that you choose is dependant on the look that you’re going for when it comes to your space, where it’s at, and what colors you want to use. When deciding on a color for your space, keep complementary color schemes in mind. This popular designing method is frequently used with everything from interior paint to wall decor to concrete staining. Your stain will determine what patterns are available to you as well!
ACID-BASED STAINS
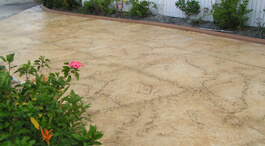
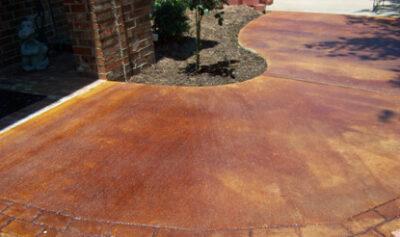
Acid concrete stains are used to create deep, rich colors that are only available in earth tones, such as brown, red-orange, and tan. These stains can be unpredictable when it comes to how the final color will turn out. The best way to ensure that you’re getting the color you want when working with acid stains is to test a corner of the concrete by applying a small amount of stain. Once this small patch of stain dries, you’ll be able to tell how the concrete will react with the stain. Acid stains are also used to create the distinct mottled and marbleized patterns that stained concrete is known for. Acid-based concrete stains need to be neutralized following the installation process to ensure that they’re safe for use.
Need Help? Contact Us Today!
GET A FREE CONSULTATION FOR YOUR FLOORING COMMERCIAL & RESIDENTIAL PROJECTS
WATER-BASED STAINS
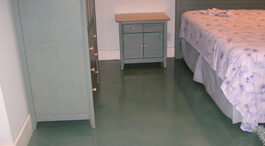
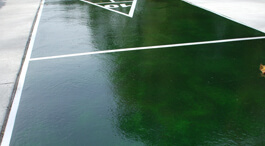
Water-based concrete stains are more user-friendly and safer stains to use. These stains produce a different type of color from acid stains but have a wider range of vibrant colors available. Water-based stains can be used to make a myriad of patterns similar to acid stains as well, such as geometric shapes and even patterns that can mimic other flooring materials like wood and tile. A water concrete stain will need more surface preparation than an acid concrete stain but doesn’t require neutralization afterward. As water-based stains don’t react with the concrete on a chemical level, water concrete stains are more predictable when it comes to knowing how the final color will turn out.

CLEANING THE SLAB
The first step in the concrete staining process is thoroughly cleaning the concrete slab. This step is highly important because any residue, stains, or debris left on the surface of the concrete will be visible in the finished product as stains are translucent. This step will also allow any damage that is present on the concrete to be seen, which will help with the next step. Any dust or hard debris can be swept off of the slab with a broom. Residue or stains will need to be cleaned more intensively. Use Trisodium Phosphate, or TSP, mixed with water to scrub the entire floor with a rotary floor buffer. Rinse the floor and follow-up with a wet-dry vacuum, then mop behind the vacuum with clean water.
MAKING REPAIRS
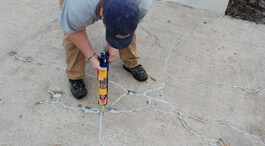
Once the floor is clean, it’ll need to be checked for damage. If there is damage present, such as cracks, chipping, or pits, it should be repaired. Any cracks will be filled with an epoxy-based crack filler to stop them from spreading. Areas that have pits or are chipping away will be patched to stop further damage from occurring. Keep in mind that concrete staining may not be the best avenue for decorating your concrete slab if the damage is too extensive. Since concrete stains are semi-transparent, stains will actually highlight the repairs if you have made a large number of repairs. However, if your concrete only needs minimal repairs, it’s still an excellent candidate for staining.
The Benefits of
Staining Concrete
The process of staining a concrete floor brings a myriad of benefits with it. Concrete staining is one of the most affordable methods of decorating concrete on the market. The affordability of stained concrete simply adds to its benefit of increasing property value as well. With the low cost of staining concrete, you’ll receive a higher return on investment than many other decorative options. Staining concrete generally smooths the surface of your concrete floor, making maintenance easier as well!
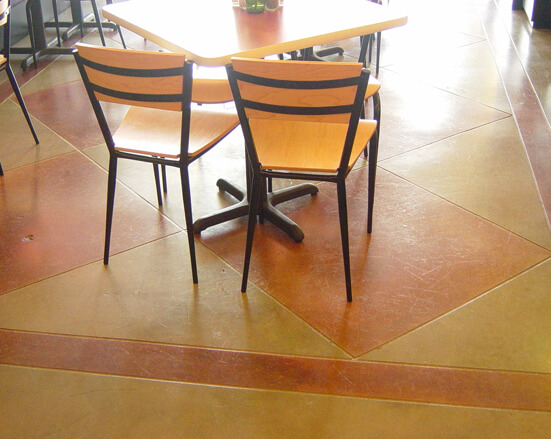
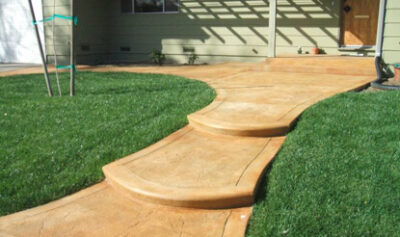
Concrete staining is compatible with other decorative techniques as well, making it highly versatile. If you’re planning on having stamped concrete installed, staining is an excellent way to make a more realistic color for your stamped surfaces! Not to mention, stained concrete is extremely customizable. With a wide array of colors and pattern options available, concrete staining can meet virtually any design needs. Staining concrete is an environmentally-friendly option as well! As you’re making the most of the flooring that you already have, you will not have to deal with excessive waste, and stains are free of harmful VOCs!
PREPPING THE SURFACE
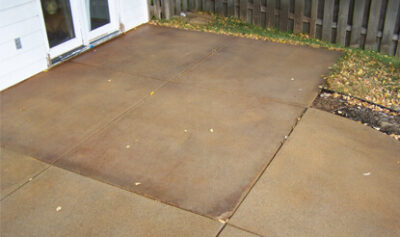
No matter if you’re staining new or old concrete, surface preparation is a vital step. The surface of your concrete will need to ground to open up its pores so that the stain can fully penetrate the concrete. This is important because if the surface isn’t ground, the stain will not produce the proper color. Once the repairs, as mentioned above, have been made, a floor grinder with a diamond grinding wheel attached will be used to complete the prepping step. After the grinding is finished, the floor will need to be cleaned again to remove the excess dust that will remain.
APPLYING THE STAIN
Now that surface preparation is complete, the stain can finally be applied. Any door frame, trim, or walls will be masked off if the area being stained is indoors. The stain is then diluted to the proper ratio for the desired color intensity. Next, it’s sprayed or brushed onto the concrete. This layer of stain will need to dry before more coats or clean up can proceed. Dry times can vary based on the airflow to the concrete, temperature, and humidity. The stain is typically dry to the touch within 15 to 20 minutes and fully cured after 24 hours. More coats can be applied to reach the desired color intensity.
CLEAN UP, NEUTRALIZING, & SEALING
Once the desired color has been achieved, it’s time to clean up. Simply rinse the concrete with clean water until it runs clear. If you used an acid stain, the stain would need to be neutralized using baking soda, TSP, or ammonia. A soft-bristled broom can be used to remove any tough residue before the final rinse. After the stain is fully cured, the concrete will need to be sealed. A sealer will protect your stained concrete from weather, moisture, and staining. The sealer will need a few hours to cure before the floor can be used.
WHY EPOXY IS BETTER THAN BARE CONCRETE?
OUR EXPERIENCE AND REPUTATION HAS POSITIONED AS A LEADER AMONG CONCRETE CONTRACTORS

PROTECTION
Bare concrete may be a hard substance to use as a floor, but it is susceptible to cracking, chipping and staining. An epoxy coating will protect your concrete substrate for years to come. The durability and toughness of epoxy will prevent any damage from befalling the concrete underneath. This will save you money in costly repairs or even having to replace whole sections of concrete.

WATER RESISTANCE
Concrete alone is not highly resistant to water as it is a porous substance that can take on water quickly. If a basement with bare concrete were to flood, this would lead to structural problems in the concrete, cracking, and crumbling of the substrate over time. Epoxy, on the other hand, is not affected by water or moisture and will save the structural integrity of your basement from issues like flooding.
AFFORDABLE
The initial installation of epoxy may be more expensive than simply doing nothing to a bare concrete floor. However, in applying an epoxy coating to your basement floor, you will save money over the years by avoiding costly repairs to the concrete that will inevitably occur at some point in time. Not to mention, the maintenance for epoxy is much less expensive than the maintenance required for bare concrete.
TO SUM EVERYTHING UP
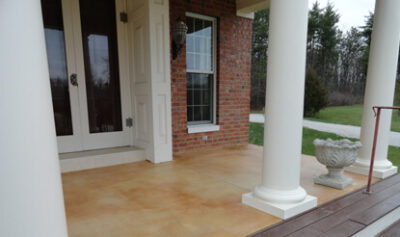
This beautiful coloring process takes about 2 days to complete. There are two types of stains for concrete, acid and water concrete stains. The concrete needs to be cleaned and then inspected for damage first. Then, the surface will be prepped using a floor grinder to ensure the stain permeates the concrete. The stain is then applied with a sprayer or brush and rinsed with water. If an acid stain was used, it would need neutralizing. After the stain has cured, a sealer will be applied to protect the newly stained concrete.

